A practical shoot-to-publish checklist covering product preparation, shot planning, image dimensions, file naming, compression and final ecommerce quality checks.
Successful ecommerce photography is not only about taking an attractive picture. Every product needs to move through the same repeatable process—from cleaning and shot planning to file naming, compression and publishing.
This checklist helps retailers, manufacturers and ecommerce teams create complete, consistent product listings while reducing missed angles, reshoots, oversized files and publishing delays.
The Complete Shoot-to-Publish Checklist
Use these four stages for every product. Keeping the order consistent makes the workflow easier to train, repeat and scale.
01
Preparation & Product Readiness

- Inspect the product: Check for dust, fingerprints, loose threads, scratches, uneven labels, packaging marks or anything that will become obvious in a close-up image.
- Clean and assemble it: Polish reflective surfaces, shape soft products, fasten straps, align moving parts and prepare every accessory that belongs in the listing.
- Confirm product accuracy: Match the item against its SKU, colour, size and variant information before photography begins.
- Choose the presentation: Select the background, surface, support, hanging method or turntable that shows the product naturally without distracting from it.
02
Shot List & Visual Coverage
- Capture the hero view: Create one clean image that immediately communicates the product’s shape, colour and most recognisable features.
- Add essential angles: Photograph the front, back, both sides and top or bottom whenever those views help the customer evaluate the product.
- Record important details: Include close-ups of materials, texture, fasteners, controls, stitching, stones, labels or workmanship.
- Show scale and use: Add an in-context or lifestyle image when customers need help understanding the product’s size, fit or intended use.
- Plan movement: Capture a 360° spin or short video for products where shape, mechanism, shine or movement cannot be explained by still images alone.
03
Image Size, Naming & Compression
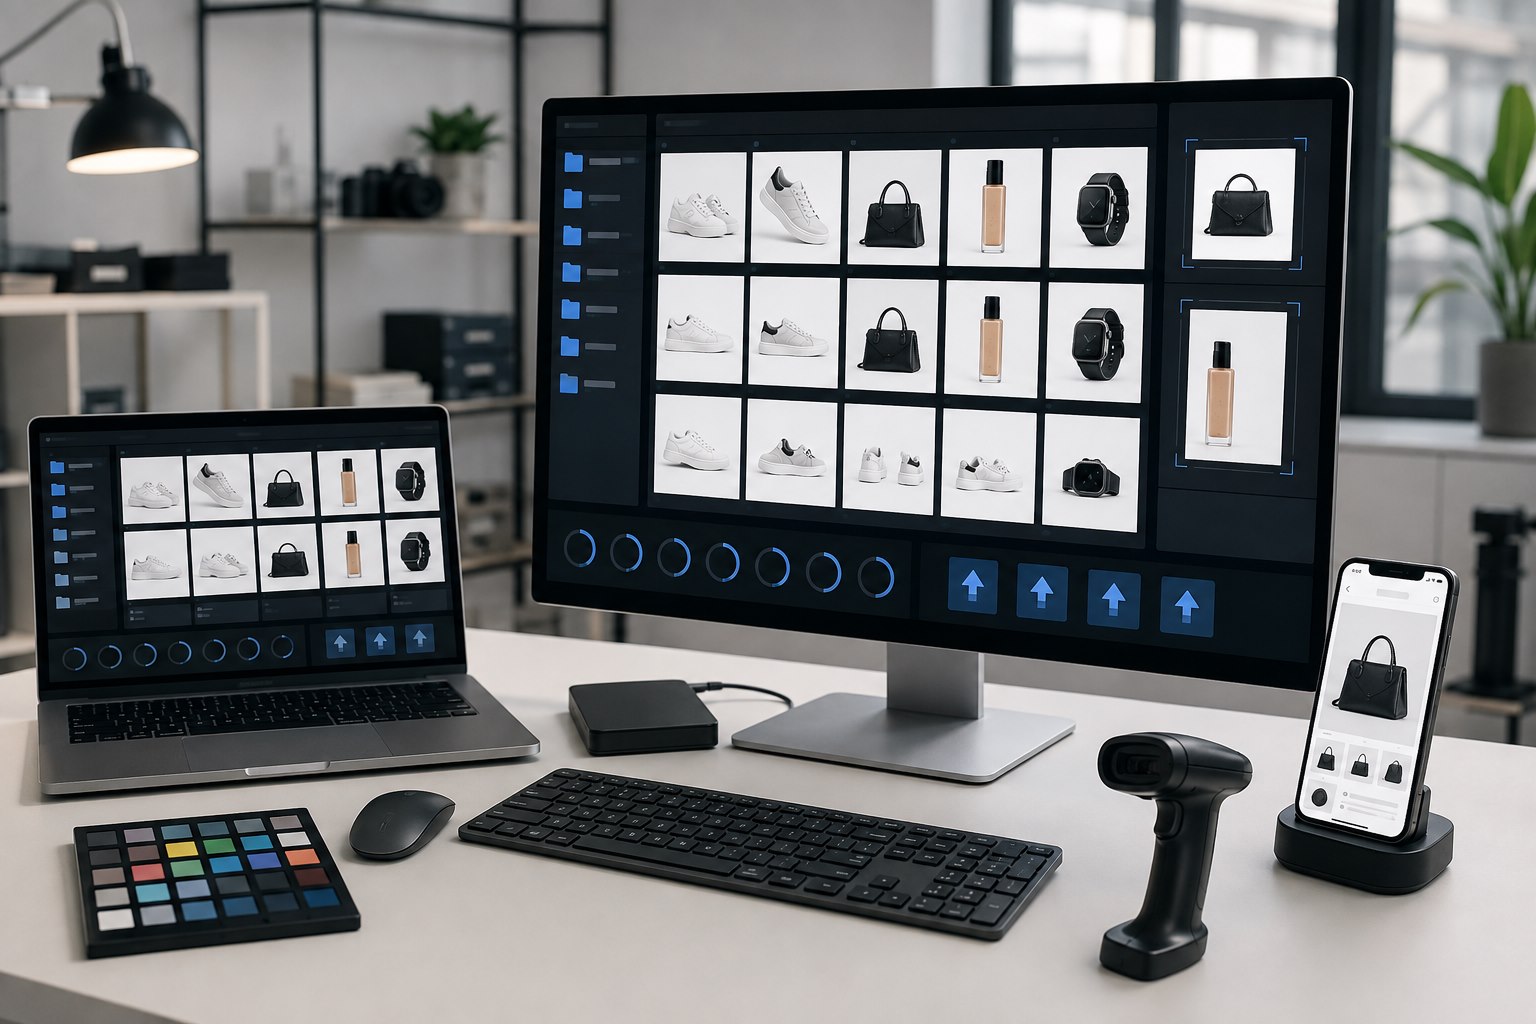
- Create one high-quality master: Keep a full-resolution, colour-corrected original before making marketplace, website or social-media versions.
- Use consistent dimensions: Choose one aspect ratio and canvas size for each sales channel so product grids remain aligned and professional.
- Name files clearly: Use a predictable structure such as SKU-colour-view-number instead of camera-generated filenames.
- Choose the right format: Use JPEG or WebP for most photographs, PNG when transparency is required, and GIF or video for movement.
- Compress carefully: Reduce file weight enough for fast loading while checking that edges, textures, gradients and small details remain clean.
04
Publishing & Final Quality Check
- Check the complete set: Confirm that every required angle and variant is present and that no image belongs to a different SKU.
- Review colour and sharpness: Compare the images with the physical product and inspect important details at full size.
- Test the crop: Preview the listing on desktop and mobile to ensure the product is not cut off by responsive thumbnails.
- Add useful metadata: Write descriptive alternative text and product information that helps accessibility, search and internal asset management.
- Verify the live page: After publishing, open the actual listing and confirm image order, loading speed, zoom quality, 360° playback and mobile behaviour.
The Minimum Image Set for a Strong Product Listing
The exact number depends on the product, but a useful ecommerce set normally includes these visual roles.
Hero Image
A clear primary view with consistent framing and enough space around the product.
Alternate Angles
Views that explain the product’s full shape, construction and functional areas.
Detail Close-Ups
Sharp images of materials, finishes, features and quality indicators.
Scale or Context
A visual that helps customers understand dimensions, fit or real-world use.
Clean Cutout
A transparent or plain-background asset for listings, catalogues and campaigns.
360° or Video
Movement-based content for products that benefit from inspection from every angle.
Where EasyCLIQ Fits Into This Checklist
- Controlled studio lighting helps teams reproduce colour and surface details consistently from one product to the next.
- Camera positioning and automated rotation make it easier to repeat planned angles, close-ups, 360° spins and product videos.
- Focus stacking helps retain detail across products where one photograph cannot keep every important area sharp.
- AI-powered background removal produces clean cutouts without sending every image through a separate manual editing process.
- Saved templates can recall lighting and camera settings for each product category, reducing setup differences between operators and sessions.
- Built-in resizing, compression and export tools shorten the path from the approved master image to a publish-ready ecommerce asset.
Make the Checklist Part of the Workflow
A checklist creates value only when the team uses it for every SKU. Keep the approved shot list and file rules close to the photography station, assign responsibility for the final quality check, and update the process whenever a marketplace or website requirement changes.
The result is not simply better photography. It is a dependable visual-content system that helps products reach the online store faster, keeps the catalogue consistent and gives customers enough information to buy with confidence.